Insert a Table View into Excel.
-
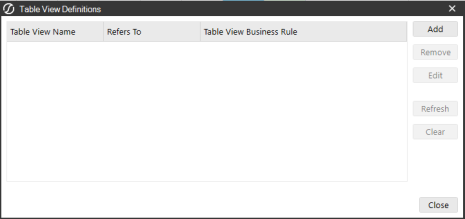
Click Table Views to open the Table View Definition dialog box.
-
From this window, manage the Table Views within Excel. Add, remove, edit, and refresh tables. Click the Add button to add a new Table View.
-
In the Table View Definition dialog box, populate the following fields:
-
Name: Table View name.
-
Refers To: Cell range where the Table View will exist.
-
Table View Business Rule: Click the ellipses to search for and select a business rule.
-
Insert or Delete Rows When Resizing Table View Content: Select this option if you plan to stack everything vertically on your worksheet. This automatically adds or deletes rows as a table view expands and contracts.
-
Insert or Delete Columns When Resizing Table View Content: Select this option if you plan to stack everything horizontally on your worksheet. This automatically adds or deletes columns as a cube view expands and contracts.
-
Preserve Excel Format: This option enables you to preserve native Excel formatting changes made to cube views, quick views, and table views. When enabled, formatting changes made via native Excel formatting will be retained. See Preserve Formatting.
-
-
Click the OK button, then the Close button to view the Table View in the Excel worksheet.


