To finish defining a Member Dialog parameter:
-
(Optional) In Default Value, specify a dimension in the dimensional hierarchy to display when the parameter first runs. Enter the dimension name or click Edit to look up the dimension.
-
In Cube, click Edit to select the cube that uses the required dimension. To quickly find a cube, type the name in Filter.
-
From Dimension Type, select the dimension category such as Consolidation or Scenario that contains the appropriate dimension.
-
In Dimension, enter the name of the dimension to use or click Edit to select the dimension from the hierarchy.
-
In Member Filter, specify the member that determines the hierarchy to display in parameter prompts. Enter a member name or click Edit to use the Member Filter Builder to refine the members to display. For example:
-
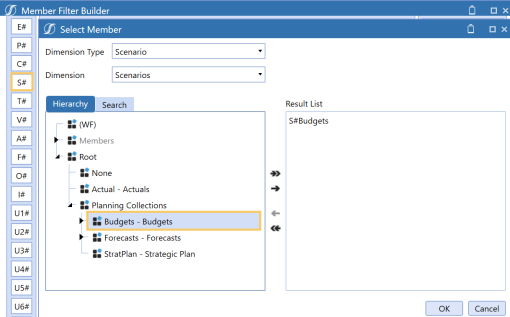
To display only Budget members in a Scenario dimension with multiple member groups such as Actual and Forecast, click S# and select Budgets as shown:

-
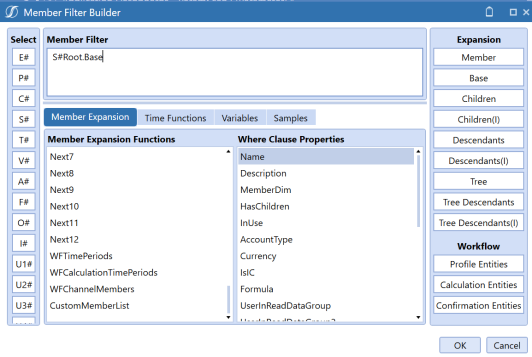
To display the entire hierarchy, select Root and Base.

NOTE: Dashboard-based parameters are similar to those used in forms. If a form references a parameter that cannot be found in the form template, a dashboard parameter of the same name is used.
-
-
Select members and use the arrows to add them to Results.
-
Click OK twice.
-
Click Save.
IMPORTANT: When you assign the parameter, enclose the name in pipes and exclamation points. For example, |!BudgetScenario!|.


