Update the OneStream Web Server IIS Settings using Configure IIS Tool
-
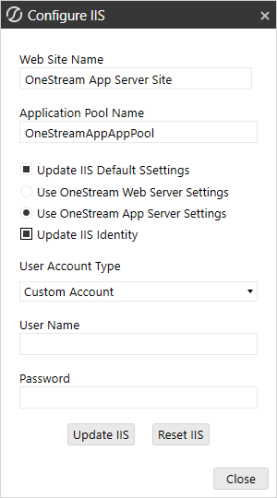
Choose Tools > Configure IIS.
-
Enter the following values:
-
Web Site Name: OneStream Web Server Site
-
Application Pool Name: OneStreamWebAppPool
-
-
Check Update IIS Default Settings.
-
Select Use Web Server Settings.
-
Check Update IIS Identity.
-
Set the User Account Type to the proper value from the drop down list. (It should be “Custom Account” if using a domain service account.)
-
UserName: Enter the OneStream Service Account as (Domain\UserName).
-
Password: Enter the Password.
-
-
Click Update IIS Settings to set the IIS Application Pool settings and click OK.
-
Logon to each OneStream Web Server in the environment.
-
Browse to C:\Program Files\OneStream Software\OneStreamWebRoot\OneStreamWeb
-
Locate the OneStreamWeb.runtimeconfig.json file and open this file in a text editor.
-
Update the Config Properties section with the following line:
"System.Threading.ThreadPool.MinThreads": 128
Copy"configProperties": {
"System.GC.Server": true,
"System.Reflection.Metadata.MetadataUpdater.IsSupported": false,
"System.Runtime.Serialization.EnableUnsafeBinaryFormatterSerialization": false,
"System.Threading.ThreadPool.MinThreads": 128
}
NOTE: Be sure to place a comma ahead of the previous line as shown above.
-
Save the file for the change to take effect
-
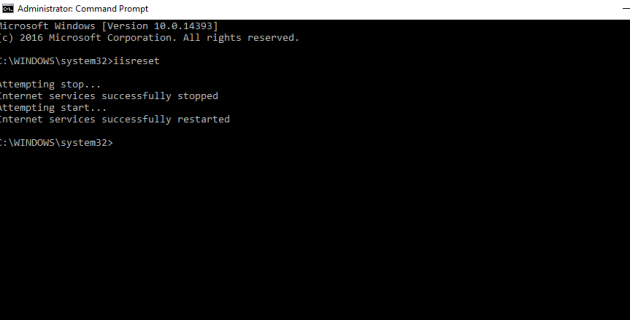
Click Reset IIS to recycle IIS.
NOTE: You can also recycle IIS by stopping and restarting the web server in IIS, or by using an IISRESET Command via an administrator command prompt.