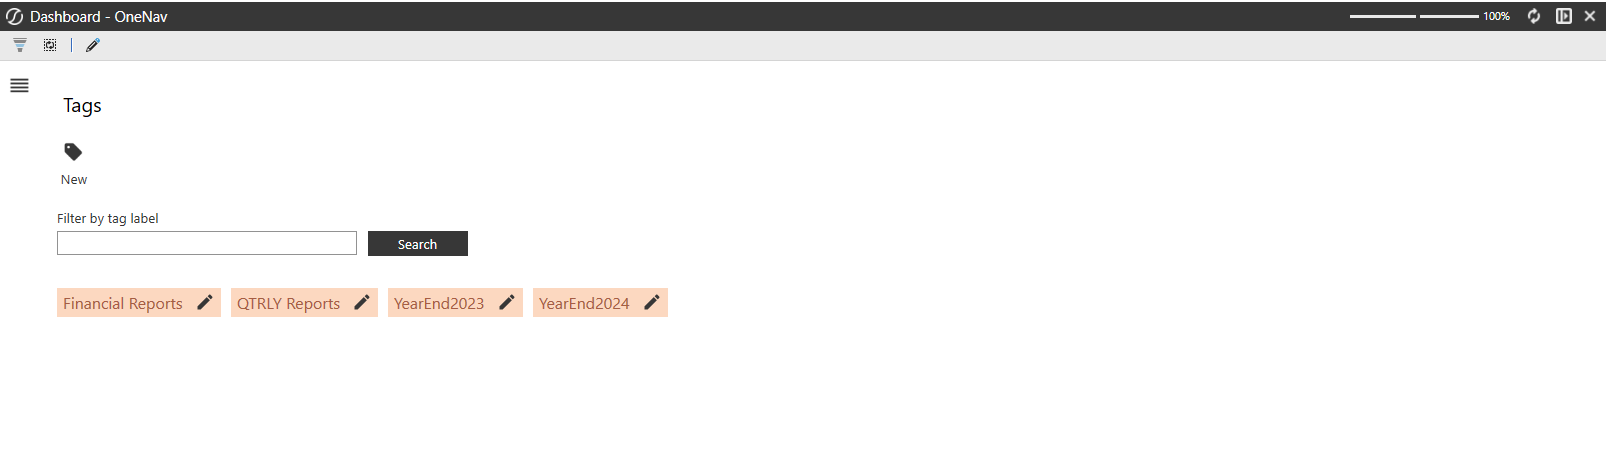
Use tags to quickly locate and group common reports. Click the Tags icon to navigate to the Tags dashboard. The dashboard displays all created tags in alphabetical order.
Apply Tags
Add a tag to any report you want to either access quickly later or categorize with other reports. To apply a tag, follow these steps:
-
Select any report from Application Reports, System Reports, or Security Audit Reports.
-
Click the Tag icon below the report title.
-
Search and select a tag from the drop-down menu.
When the chosen tag is clicked from the Tags dashboard, the report will display in the report list.
Remove Tags
If a tag no longer applies to a report, you can remove it using these steps:
-
Locate the report from which the tag should be removed.
-
Click the X next to the tag.
-
In the Remove Tag dialog box, click the Confirm button to remove the tag from the report.
The tag is removed and the report is no longer associated with the tag.
View Reports with Tags
Click any tag to navigate to a list view of all reports associated with the chosen tag. The following information will display in the grid:
-
Name: Report name
-
Group: Name of the group in which the report lives
-
Type: The type of report
-
Due Date: The Report's due date
Select any report from the list to view the report using Report Viewer. See View and Run Reports.
Manage Tags
Administrators and Tag Managers, those designated in Security Management, can create and manage tags for Navigation Centerusers.
Create Tags
You can create new tags directly from reports or from the Tags dashboard.
Reports
Create a new tag from any report following these steps:
-
Select any report from Application Reports, System Reports, or Security Audit Reports.
-
Click the Tag icon below the report title.
-
Select New Tag from the drop-down menu.
-
In the New Tag dialog box, enter a tag name in the Tag Label field.
NOTE: The character limit for each tag is 50. Special characters, spaces, numbers, and capital letters are allowed. Duplicate tag names cannot be used.
-
Click the Save button.
Tags Dashboard
Follow these steps to create a new tag from the Tags dashboard:
-
Click the Tags icon.
-
Click the New icon.
-
In the New Tag dialog box, enter a tag name in the Tag Label field.
NOTE: The character limit for each tag is 50. Special characters, spaces, numbers, and capital letters are allowed. Duplicate tag names cannot be used.
-
Click the Save button.
Edit Tags
-
From the Tags Dashboard, click the pencilicon next to a tag.
-
In the Modify Tag dialog box, edit the text in the Tag Label field.
-
Click Save to accept the changes.
Delete Tags
-
From the Tags Dashboard, click the pencil icon next to a tag.
-
In the Modify Tag dialog box, edit the text in the Tag Label field.
-
Click the Delete icon.
-
In the Delete Tag dialog box, click Confirm to delete the tag or click Cancel to remain on the Modify Tag dialog box.
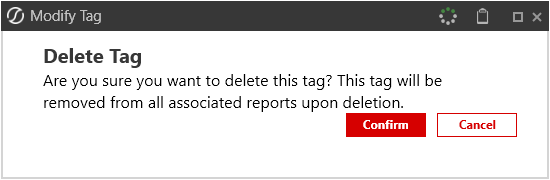
CAUTION: Tags are deleted from the dashboard and the tag is removed from all reports associated with it.


