Generator Grid
The Generator grid lists all defined generators.
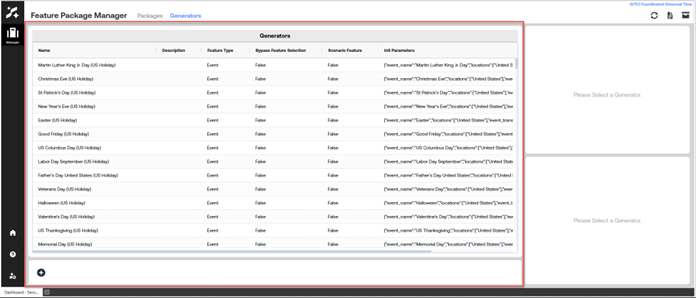
For each generator, the grid shows:
Display Name – Required and unique for each generator to ensure clear identification in packages for Feature Package Manager.
Description – Explanation of the generator’s purpose.
Feature Type – Indicates whether the generator is an Event or a Library Feature.
Init Parameters – The configuration for the generator:
For Event generators, this includes event name, locations, and event transformation settings.
For Library Features, the parameters depend on the specific generator type selected.
Bypass Feature Selection – When enabled, features from this generator skip standard feature selection, ensuring they always participate in modeling; this is typically used for features that must always be present.
Scenario Features – When enabled, marks the features as scenario‑only, meaning they are used for scenario modeling rather than as standard predictive features.
View Generator
After selecting a generator, the upper‑right View drop-down provides different perspectives depending on whether the generator is a Library Feature or an Event.
Library Feature – Packages View
Shows all packages that currently include the selected library feature.
Library Feature – Map View
Displays any locations associated with the library feature if the selected library feature contains locations.
This is most useful for location‑aware features that incorporate geographic information.
If the feature does not use locations, this view will be empty.
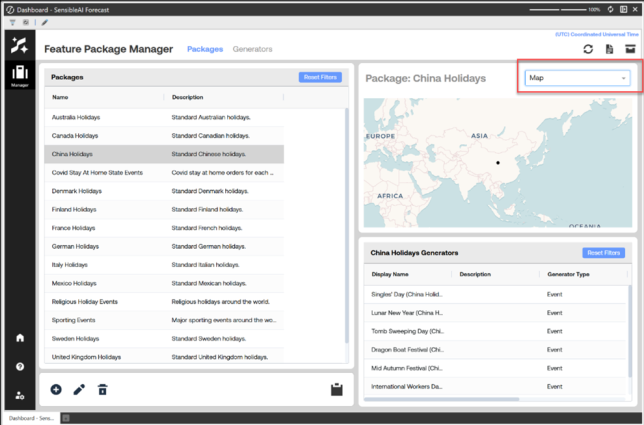
Event – Packages View
Lists all packages that reference the selected event generator.
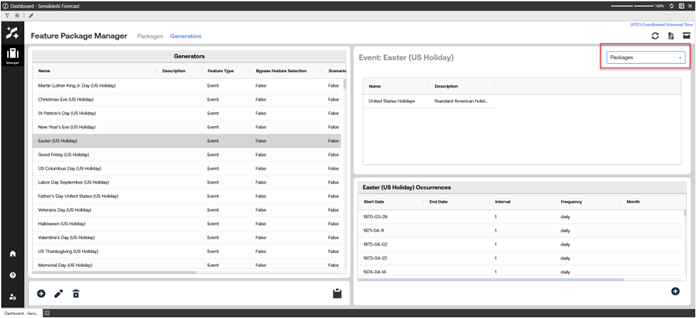
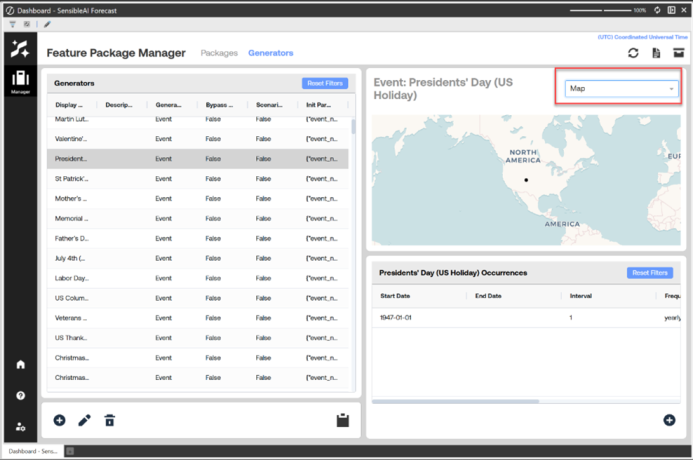
Event – Map View
Visualizes all locations defined for the event generator.
Each point represents a location where the event occurs.
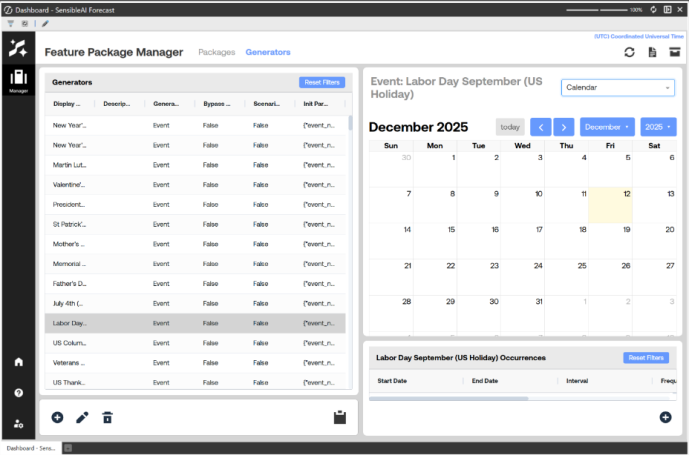
Event – Calendar View
Displays the occurrences for the selected event over time.
You can navigate by month and year to verify that the event is scheduled correctly across the full planning horizon.
Event – Timeline View
Plots all occurrences for the event along a single horizontal time axis.
A zoom slider allows you to focus on shorter time windows, and double‑clicking resets the view to show the full series.
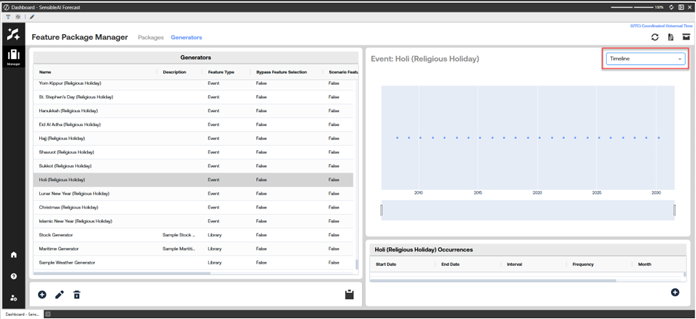
Slider to scope the timeline view.

Lower-right Panel
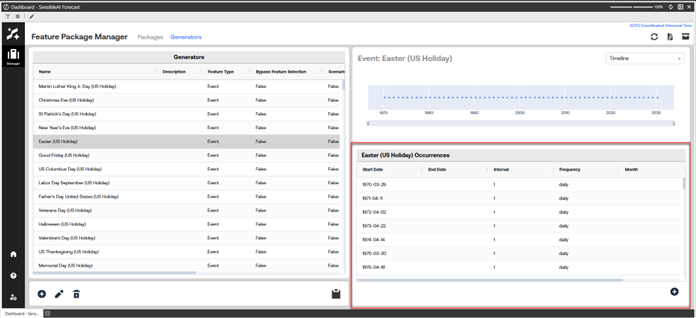
When an Event is selected – Occurrences
The Occurrences table surfaces the schedule for the selected event.
Each row represents a specific rule or pattern and includes:
Start Date – The first date on which the occurrence rule begins.
End Date – The last date the rule applies (if provided).
Interval – The spacing between occurrences (for example, an interval of 2 with a daily frequency means “every two days”).
Frequency – How often the event repeats (Daily, Weekly, Monthly, Yearly, etc.).
Month – For relative rules, the month or months when the event can occur.
Day of Week – For relative rules, the specific day(s) of the week (for example, Monday or Friday).
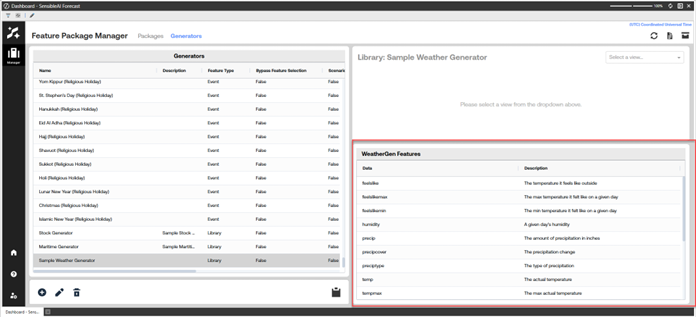
When a Library Feature is selected – Generator Features
The Generator Features view lists the resulting features (columns) created by the selected library generator.
Each record describes one feature, including its name and descriptive metadata.
The exact schema is specific to the chosen generator type, giving insight into what features will be added to your project when the generator is used.
Generator Actions
Create Generator
The Create Generator workflow leads you through five structured steps:
To navigate
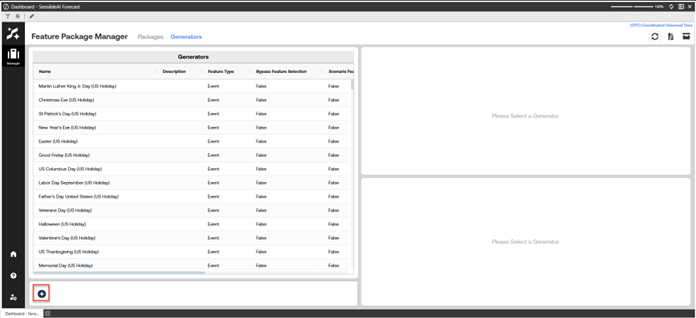
Step 1 – Generator Type
Choose whether the generator will be an Event or a Library Feature.
This selection filters the available generator options and determines which configuration options are presented later.
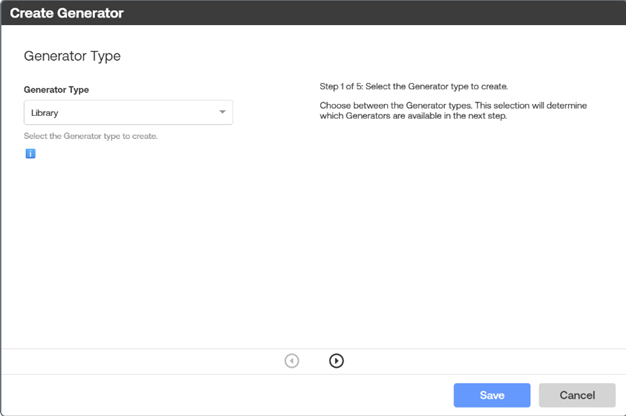
Step 2 – Generator Selection
Select a specific generator from the list of online generators, filtered by the type selected in Step 2.
Only valid, supported generator implementations are displayed.
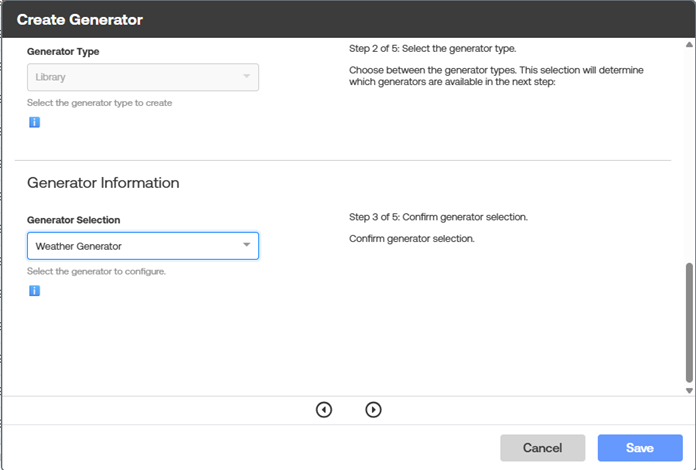
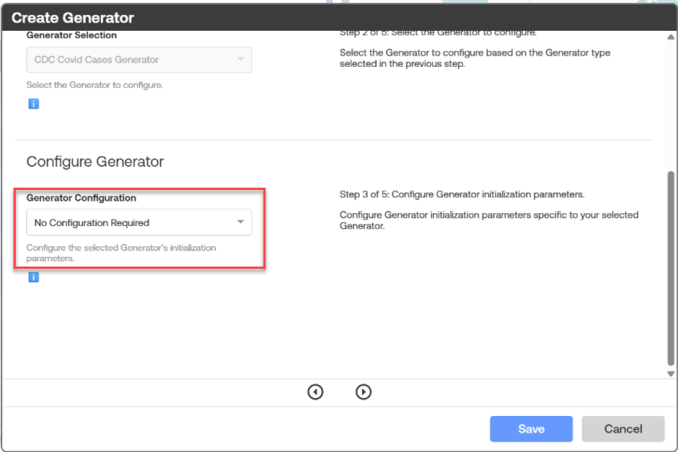
Step 3 – Generator Configuration
Configure the Init Parameters dedicated to the selected generator.
For generators that do not require configuration, you will see a “No Configuration Required” confirmation step.
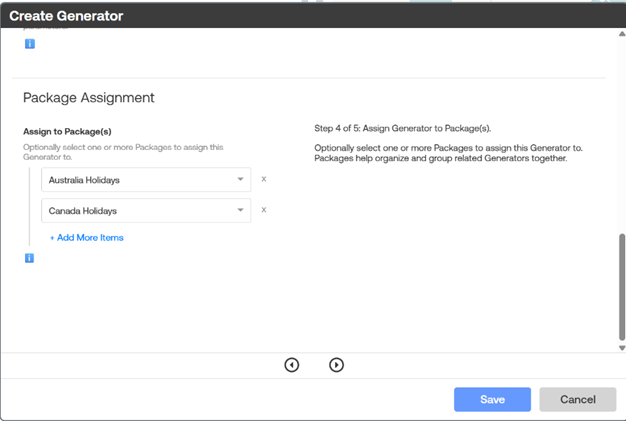
Step 4 – Assign to Packages
Optionally assign the new generator to one or more existing packages.
This allows newly created generators to become immediately available in downstream packaging and export workflows.
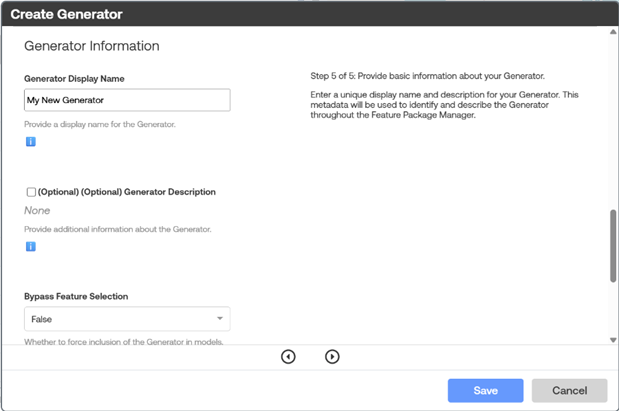
Step 5 – Generator Information
Enter a unique Display Name and a descriptive summary.
Configure Bypass Feature Selection and Scenario Modeling flags to control how the resulting features are treated in modeling and scenario analysis.
Select Save to create the generator.
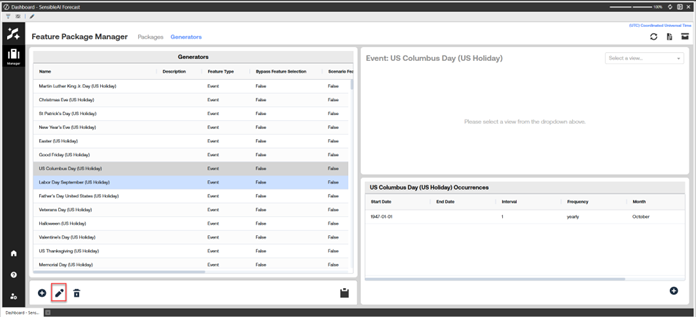
Edit Generator
When you select Edit Generator, a dialog opens that lets you revise the generator’s display name and description, toggle the Bypass Feature Selection and Scenario Modeling options, and manage its package assignments. The dialog contains two tables: the left table lists packages that are not currently assigned to the generator, and the right table lists packages that are already assigned. You can move packages between the left and right tables to remove or add assignments in bulk, which is especially useful when refining existing generators
Delete Generator
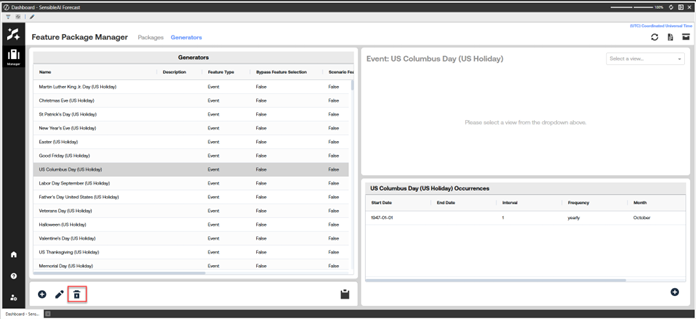
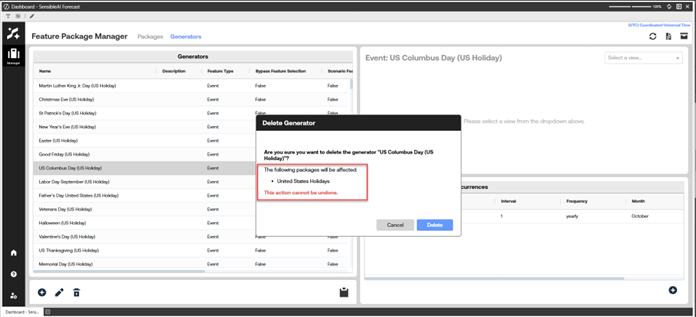
Permanently removes the generator from Feature Package Manager.
Because generators can be used in multiple packages, delete actions should be coordinated to avoid unintentionally removing generator assignment from existing packages.
Copy Generator
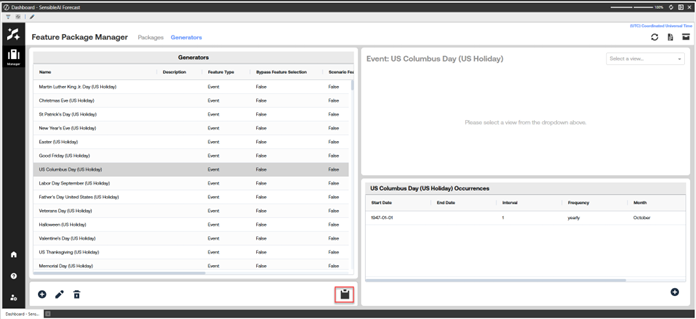
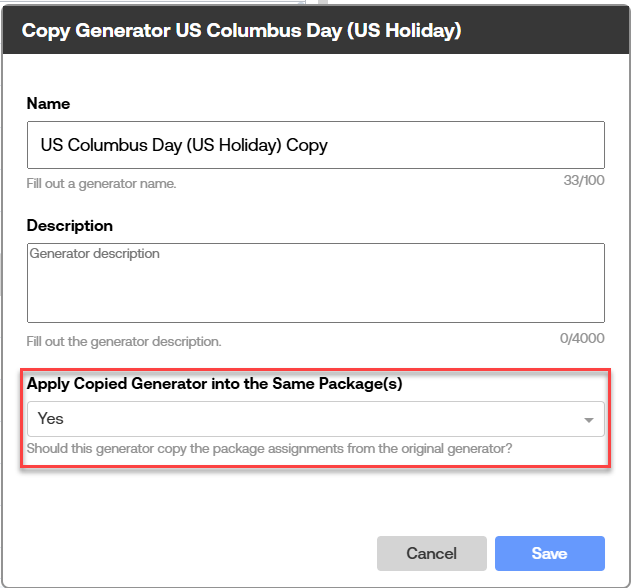
Creates a new generator from an existing one by:
Requiring a new, unique Display Name.
Optionally copying the package assignments from the original generator.
Create Occurrence (Events only)
Reference for Creating and Editing Occurrences
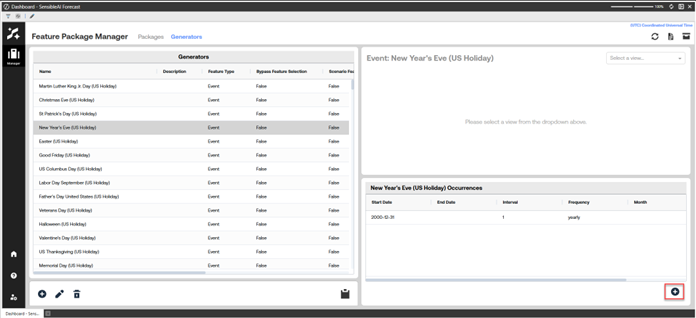
Creating an occurrence in Feature Package Manager allows you to define new scheduling rules for an event generator. The dialog supports multiple occurrence types, such as fixed date ranges or relative patterns like “first Monday of a month.” For each type, certain fields, typically Start Date and Frequency are required, while others such as End Date, Count, or shoulder windows may be optional depending on the pattern you select. The form clearly indicates which inputs are mandatory and which are optional so you can configure valid and predictable event schedules.
Edit Occurrence
To navigate
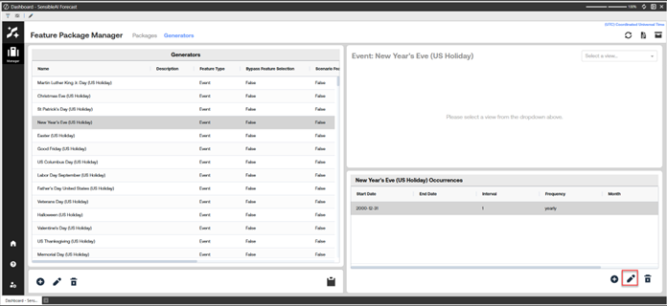
Opens the existing occurrence with all fields pre‑populated.
You can adjust any of the fields (for example, dates, intervals, frequency, or relative day‑of‑week/month) while respecting the same required/optional rules as during creation.
Delete Occurrence
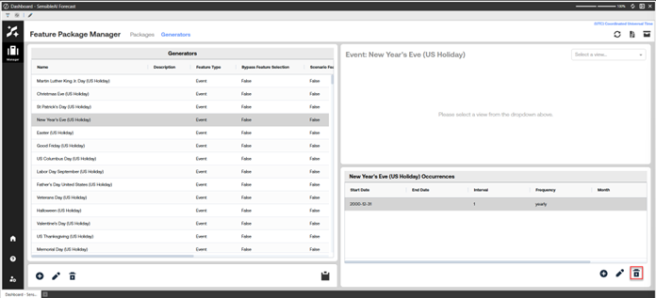
Permanently removes the selected occurrence rule from the event generator.
This action cannot be undone, once deleted, the corresponding event pattern is removed from future scheduling.
Generator Merge
Feature Packages can have generators that have the same init configurations. This occurs for Event Generator when they have the same Event Name. Also for Library Features when they have the same init configuration. When the Feature Package is applied to a project, the generators will merge into. An example would be two different Event Generators that have the same Event Name ‘Christmas’.
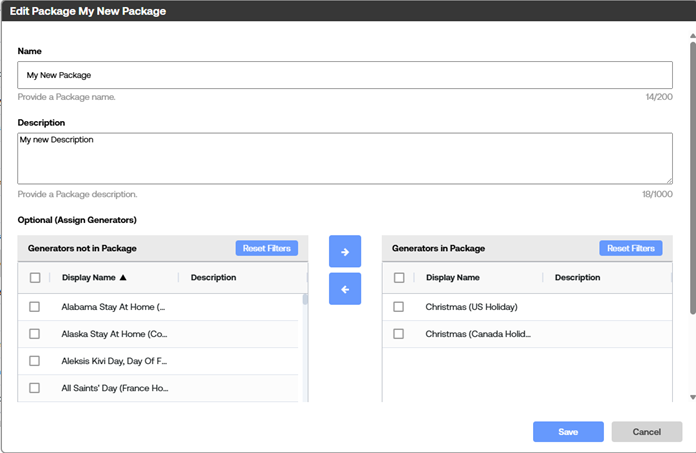
After clicking save, you will get a warning that the Package, has duplicate Generators.
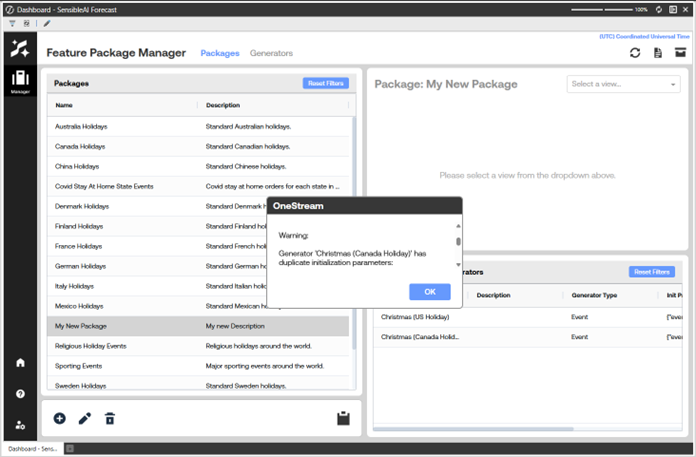
These warnings are shown after Creating/Editing/Copying a Package or Generator if a Package has Generators that would be merged when applied to a SensibleAI Forecast project.


