Allows a user to filter a specific group of targets and apply selected generator or location assignments to those filtered targets. Once completing the dialog, the configuration of assignments for whichever target is currently selected on the Target View page is applied to the filtered targets.
-
Click Target View to view all targets for the project
NOTE: Features and Locations that will be applied to your filtered projects will be from the current selected target on the Target View Page.
-
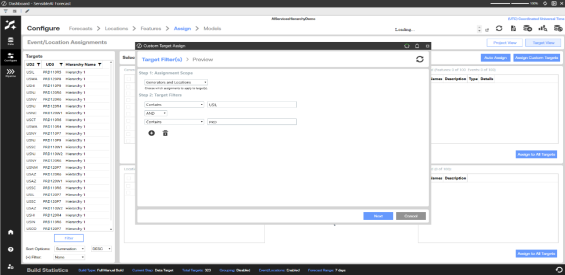
Click Assign to Custom Targets. A dialog will appear allowing you to filter down targets that you want to apply features and locations to.
-
Under Step 1: Assignment Scope select either Generators, Locations, or Generators and Locations from the drop-down menu to choose which assignments you would like to apply to your filtered targets.
-
Under Step 2: Target Filters select either Contains, Equals, or Not Equals from the drop-down menu to begin your target filter.
-
In the text box to the right of the drop-drown menu, write out the text that your target either contains, is equal to, or is not equal to.
-
-
To apply an additional filter, click the Add Filter button.
-
Another filter will appear with an extra drop-down allowing you to select either AND or OR.
NOTE: By selecting AND, it will chain the second filter to the first filter. By selecting OR, it will return the first filter results along with the second filter results.
-
-
To remove a filter, click the Remove Filter button.
-
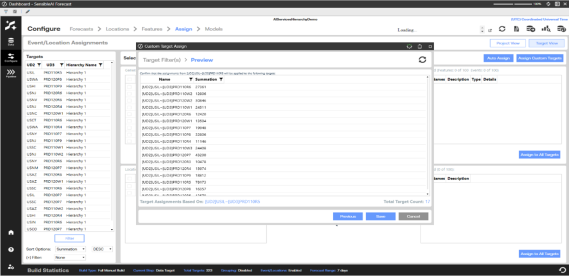
Once all filters have been added and configured, click Next.
-
All filtered targets will appear on the Preview page of the dialog. Confirm that the targets have been filtered correctly and click Save to apply assignments to the list of filtered targets.