Confirmation Rules Properties
General
Name
The name of the Confirmation Rule group.
Description
A field for a more detailed description of the rule group.
Security
Access Group
This controls the user or users that have access to the rule group within the Workflow.
Maintenance Group
This controls the user or users that have access to maintain and administer the rule group.
NOTE: Click  in order to navigate to the Security screen. This is useful when changes need to be made to a Security User or Group before assigning it to a Confirmation Rule. Click
  and begin typing the name of the Security Group in the blank field. As the first few letters are typed, the Groups are filtered making it easier to find and select the desired Group. After the Group is selected, click CTRL and Double Click. This will enter the correct name into the appropriate field.
Settings
Scenario Type Name
The rule group can be made available to a specific Scenario Type or all Scenario Types.
Order
The order in which the rules will process and display within the group when the Workflow is processed.
Rule Name
A name given to the rule. This name will be seen in the Workflow, so it is best to give it a descriptive, purposeful name.
Frequency
This option will dictate how often the rule is required to run in the Workflow Profile.
All Time Periods
This runs the rules every period.
Monthly
This runs the rules every month. If this is for a weekly application, they will run the last week of each month.
Quarterly
This runs the rules every quarter, or four times a year.
Half Yearly
This runs the rules two times a year; once in June and December.
Yearly
This runs the rules once a year in December.
Member Filter
This turns on the Frequency Member Filter. Filters can then be defined in that section.
Frequency Member Filter
This only becomes available when Member Filter is chosen in the Forms Frequency options above, otherwise this will be grey. The purpose of this option is to allow the ability to filter by time.
Rule Text
A description of the rule. This will also be seen in the Workflow. The Rule Text should be a textual description of the Rule Formula associated with this rule.
Action
A drop down list containing the options Warning (Pass) or Error (Fail). If the data being evaluated does not pass the rule, these options dictate how to handle the problem. If a rule is associated with the Warning action, a warning message will display to alert the user, but the process will not stop, andyou will be allowed to Certify if there were no errors in other rules. If a rule is associated with the Error action, an error message will display, and the rule will have failed. You will not be able to proceed further until all failures have been addressed and/or resolved. If No Action is associated with the rule, the value for the given rule will just be displayed during confirmation. This data can be used by the user for informational purposes.
Failure Message
This message will be displayed to the user if an error occurs. This field will only be used if the rule is associated with the Error Action. The message should stipulate the error again and possible options of what the user should look for or do to resolve it.
Warning Message
This message will be displayed to the user if the line item was associated with the Warning Error Action. The warning will alert the user to the issue.
NOTE: Messages longer than 2000 characters will be truncated with an ellipsis (…) placed in the last three characters.
TIP: In order to edit the Rule Formula, right click on the line item that needs to be edited and select Edit Rule Formulas. This will open the Rule Formula Editor and the rule logic can be created or maintained.
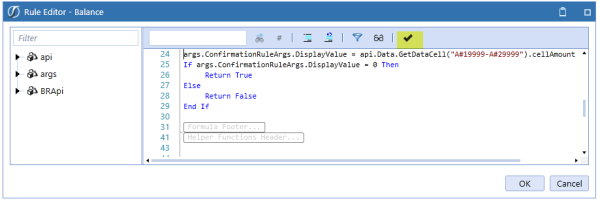
Click the highlighted check icon, to ensure the formula was compiled successfully.
The right-click feature also allows the user to insert or delete a row, save, and export data.