Access the Manage Identity Providers Page

  1. Log in to OneStream, following the flow for your configured IdP. See Login Flows.

  2. Click  The icon has a dark gray background and white silhouette of a user with a white gear in the lower right corner. Identity & Access Management Portal. This icon is only visible if you have a required security role.

    TIP: To view your security roles, go to System > Administration > Security > Users > <user>. Your security groups will be listed under Group Membership > Parent Groups That Contain This User.

    The Security user configuration page has a grid with row headings that have a gray background with black text and can be expanded to display fields with a white background and black text. This example displays three groups in the Parent Groups that Contain This User field: Administrators, IdP Managers, and PATs Admin.

  3. Click the Manage Identity Providers tile.
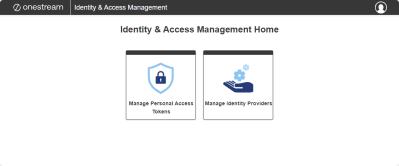
    The Identity & Access Management Home page has a square tile for each section of the portal. The tile on the left has a blue lock icon with the text Manage Personal Access Tokens in black displayed below. The tile on the right has a blue hand icon with blue gears and the text Manage Identity Providers text in black displayed below.

    This tile is only visible if you have the ManageIdentityProviders security role. See Required System Security Role.

    TIP: To view the group assigned to the ManageIdentityProviders role, go to System > Administration > Security > System Security Roles. The group assigned to this role will be listed next to ManageIdentityProviders.
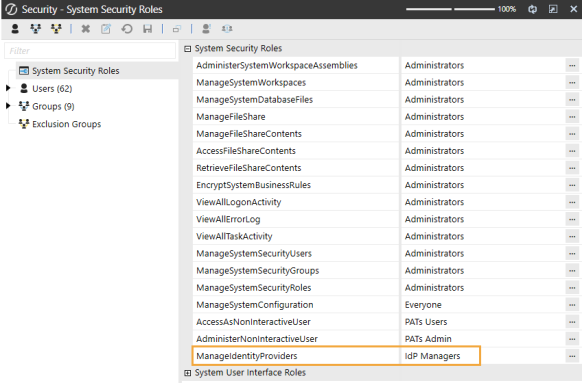
    The System Security Roles page has a grid with row headings that have a gray background with black text and can be expanded to display fields with a white background and black text. This example highlights the ManageIdentityProviders role and the group assigned to it, which is IdP Managers.

On the Manage Identity Providers page, all identity providers are listed. Information is listed for each identity provider, including the name, type (OIDC or SAML), status (enabled or disabled), and created date. You can click the title of each column to sort the contents in alphabetical or numerical order.
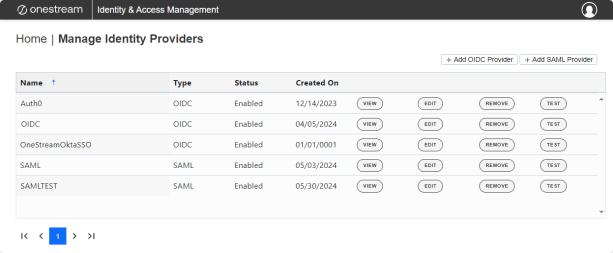
The Manage Identity Providers page has a grid with each identity provider listed in a separate row. Each row includes up to four buttons. Each button is a black oval with black text that is all capitalized for each of the four options: VIEW, EDIT, REMOVE, and TEST. There are two oval buttons in the top right corner above the grid with black text for the two options to add identity providers: + Add OIDC Provider and + Add SAML Provider.

NOTE: If your environment is only configured for OIS native authentication, no identity providers will be displayed.

NOTE: The headings on the page include links to navigate through the Identity & Access Management Portal. For example, click Home to return to the Identity & Access Management Home.

To log out of the Identity & Access Management Portal:

  1. Click The icon has a black background with a white circle and white silhouette of a user..

  2. Click Log Out.