Installing the Web Server
NOTE:
-
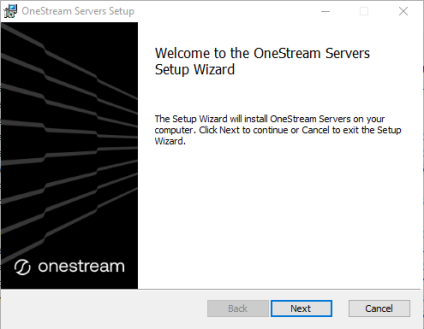
Launch OneStream Server Setup.msi by right-clicking and choosing Install.
This launches the Installation Wizard Welcome Screen.
-
Click Next to continue with the installation operation.
-
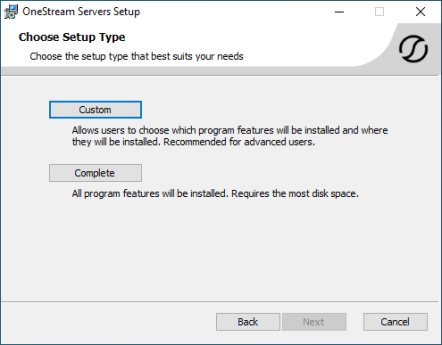
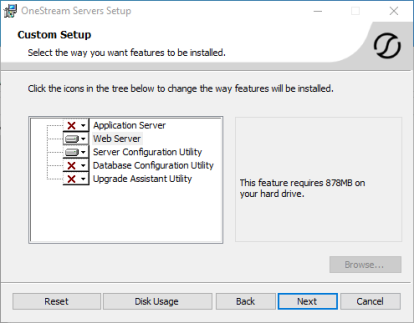
Select Custom as the setup type.
-
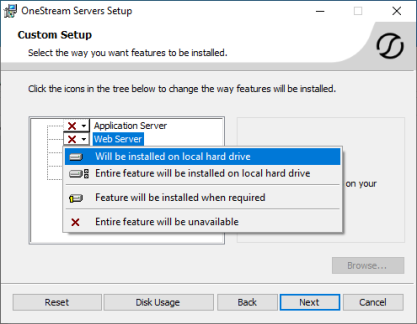
To install the Web Server only, click Web Server and choose Will be installed on local hard drive. Repeat for Server Configuration Utility. Click Next.
-
Change the folder path, if needed, and click Next.
NOTE: The default installation path is C:\Program Files\OneStream Software. Select Change to change the drive for the installation. For example, D:\Program Files\OneStream Software.
_427x333.png)
-
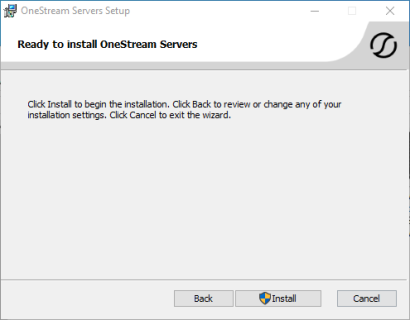
Click Install to start.
-
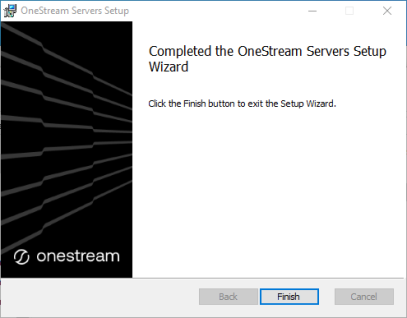
Click Finish to complete the installation.