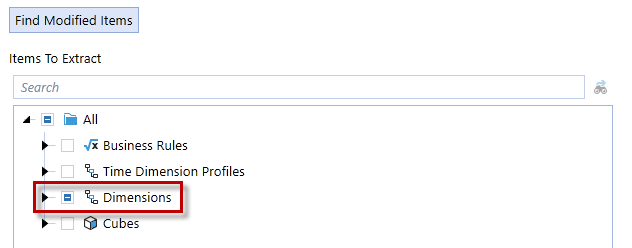
Modified Items can consist of adding/deleting Dimension Members and/or adding/deleting Dimension Relationships. Click Find Modified Items to launch the dialog. This allows users to find Dimension changes by time and user.
-
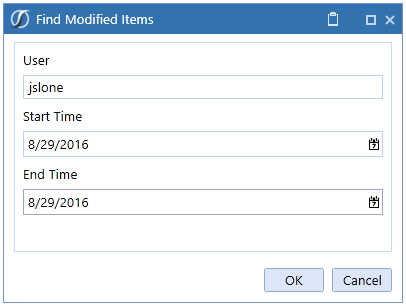
Enter a user name and a range of time in order to find Dimension Member and Dimension Member Relationship changes. Leave the User field empty in order to find changes by all users.
-
Expand this to see what Dimensions were changed.
-
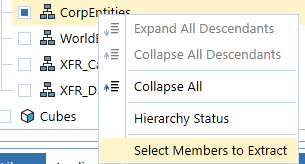
Right-click on the Dimension name and click Select Members to Extract.
-
Find Modified Items
By default, everything is selected. Click Find Modified Items and enter the username and desired date range in order to find the specific changes made to the selected Dimension. -
Items to Extract Tab
This tab displays the changes found in the hierarchy. Users can also manually select Members and Relationships to extract. -
Extract Members for Each Selected Relationship Check Box
Check this box in order to include the Members used in the selected relationships. -
Search
Search for a specific Member in the selected Dimension. -
Dimension Hierarchy
Scroll through the Dimension hierarchies in order to see where changes occurred and/or manually select or de-select Members or Relationships to extract.NOTE: Right-click on any Parent Member under Relationships and click Select All Descendants in order to select all Child Members within the hierarchy and include them in the extraction.
-
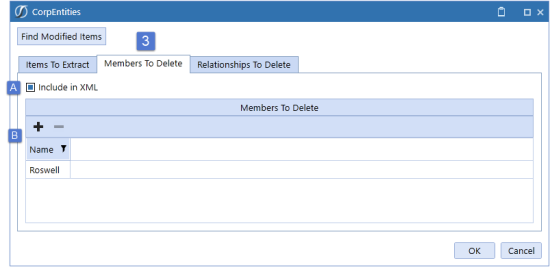
Members to Delete Tab
The Members to Delete tab displays any deleted Members found within the User/Time Parameters. -
Include in XML Check Box
By default, Include in XML is not checked. Check this box in order to include the displayed Members in the extract. If checked, any Members to Delete will have an Action=Delete in the xml file and be deleted upon loading the xml into another application. -
Any deleted Members found within the User/Time Parameters will display here. Click the plus sign to manually add additional Members to delete. To exclude a particular entry from the xml, select the line to exclude and click the minus sign.
NOTE: Members with stored data cannot be deleted from an application.
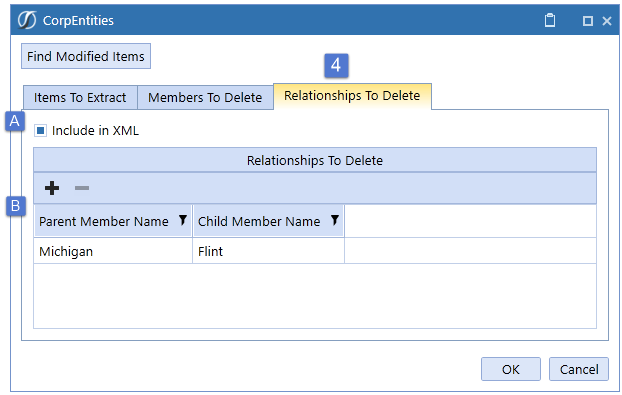
Relationships to Delete
The Relationships to Delete Tab displays any deleted relationships found within the User/Time Parameters.Include in XML Check Box
Check this box in order to include the displayed Member relationships in the extract. If checked, any Relationships to Delete will have an Action=Delete in the xml file and be deleted upon loading the xml into another application.Users can manually add additional relationships to delete by clicking the plus sign and indicating the Parent and Child. To exclude a particular entry from the xml, select the line to exclude and click the minus sign.
For example, in the application’s Dimension Library, a Member was created, another Member was deleted, and a relationship was deleted. Once the user and time filters are entered, click OK, and these changes will be highlighted.
The hierarchy will indicate where changes were made. The example below indicates there was a partial change to the Dimensions.

This launches an extraction dialog for the specific Dimension selected.