If you are in a OneStream-hosted environment, see the Identity and Access Management Guide for information about authentication with OneStream IdentityServer.
If you are in a self-hosted environment, to log in with the browser, see the Modern Browser Experience Guide.
If you are in a self-hosted environment, to log in with the desktop application, follow these steps.
-
On the OneStream Logon screen, for Server Address, specify the URL or client connection. See Defining Server Connections.
-
Click the Connect button.
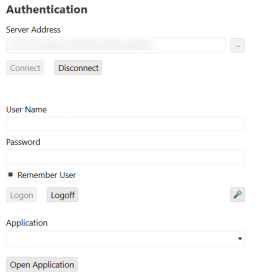
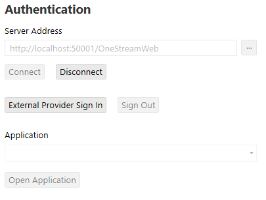
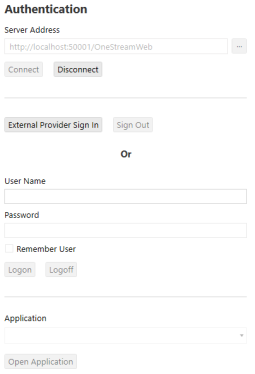
NOTE: The Logon screen will look different depending on how your environment is configured (native authentication, external identity provider, or both native authentication and an external identity provider).
Native Authentication Only

External Identity Provider Only

Native Authentication and an External Identity Provider

-
Follow the steps for your authentication configuration:
-
For native authentication:
-
Enter your user name and password.
-
Click the Logon button.
NOTE: This process for native authentication is also used for authentication with MSAD and LDAP identity providers. Enter your user name and password set up in MSAD or LDAP and click the Logon button.
-
-
For an external identity provider:
-
Click the External Provider Sign In button.
-
Enter your external identity provider login credentials.
NOTE: Single sign-on with an external identity provider can be configured to require a one-time verification code for authentication. If the Require Verification Code setting in the Web Server Configuration File is enabled, you will be provided with a one-time verification code to enter in the application. For information about the verification code, see the Installation and Configuration Guide.
-
-
-
On the OneStream Logon screen, select an application from the drop-down menu.
-
Click the Open Application button.
For instructions on configuring authentication in a self-hosted environment, see the Installation and Configuration Guide.


