-
Click Toggle Page Size in the upper right corner of the Report Designer to maximize the Report Designer as full screen.
-
Setting the display Zoom slider will assign the display percentage to the Maximize view.
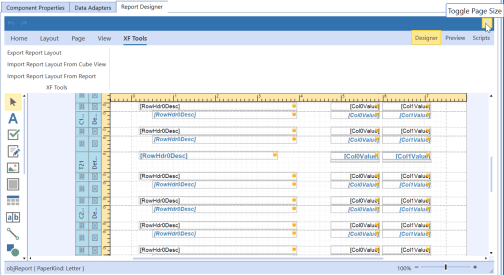
The report changes to full screen.

Export Report Layout
Export the report *.repx file.
-
Click the XF Tools tab and then click Export Report Layout. The Save As dialog box opens.
-
Browse to a location to save the report and click Save.

Import Report Layout from Cube View
-
Click the XF Tools tab and then click Import Report Layout from Cube View. The Object Lookup dialog box opens.
-
Browse to a cube view and click OK.
-
The report layout changes to the formatting of the selected cube view.
-
Click Save to save the new report layout or click Cancel All Changes Since Last Save to revert to the previous layout.
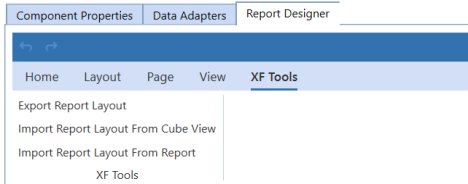
Import Report Layout from Report
-
Click the XF Tools tab and then click Import Report Layout from Report. The Object Lookup dialog box opens.
-
Browse to a dashboard report component and then click OK.
-
The report layout changes to the formatting of the dashboard report component you selected.
-
Click Save to save the new report layout or click Cancel All Changes Since Last Save to revert to the previous layout.
Functionality
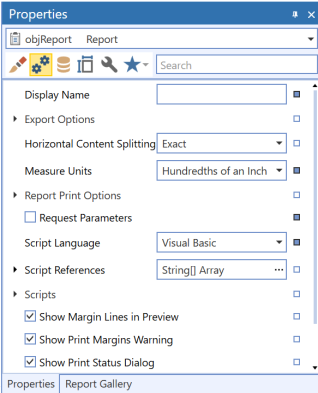
For most right-click functionality in Report Designer, use the Properties dialog box.
NOTE: When editing sub reports, you can access the Generate Own Pages option from the Properties menu.
Display Band Details
To expand any of the bands, double-click the icon in the left column.
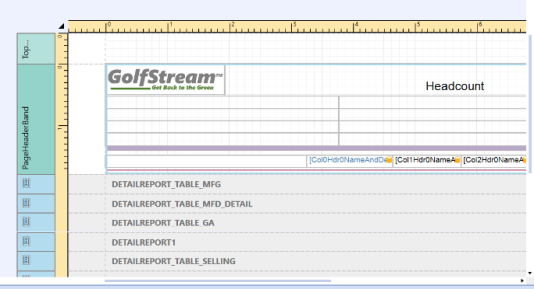
Edit Bindings by Report
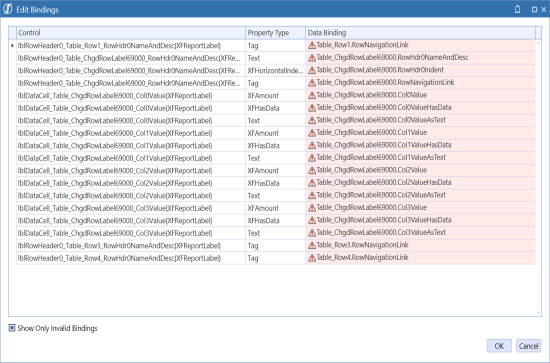
Edit bindings directly and evaluate all the controls with the built-in component in the Report Designer. The Edit Bindings dialog box lists all of the controls, property type and data binding. It displays invalid status and allows you to apply corrections.
The Property type contains type definitions.
Access Edit Bindings
-
From the Report Designer tab, select XF Tools, then Edit Bindings.
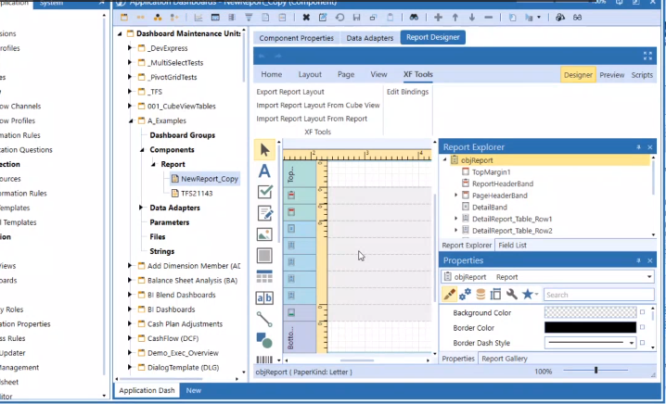
The Edit Bindings dialog box opens.
-
Click any of the column headings to sort the data in the column.
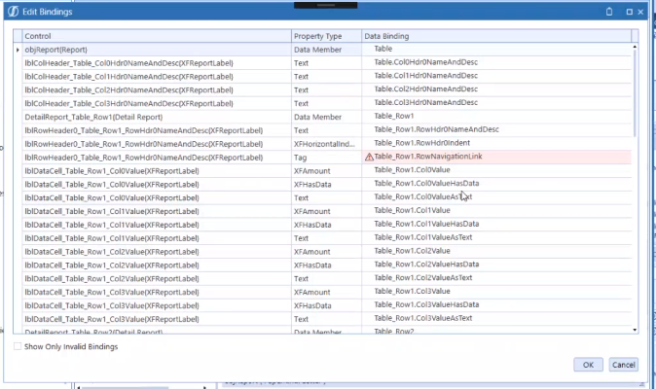
Show Invalid Bindings
The Edit Bindings dialog box lists invalid bindings. The source binding is set to a path that does not exist in your data set.
-
From the Edit Bindings dialog box, click Show only invalid bindings.
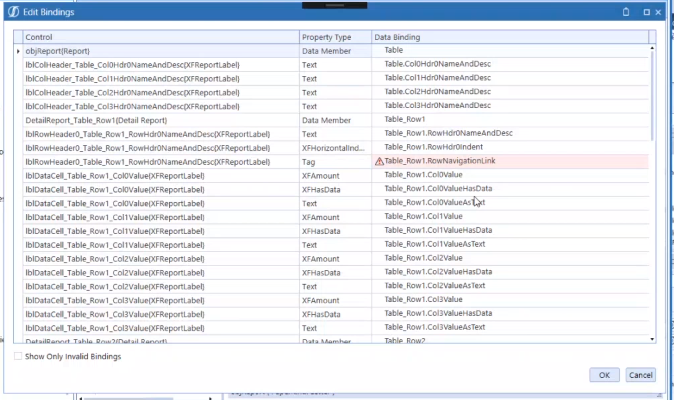
A list of invalid bindings opens. The invalid bindings have a red background.
-
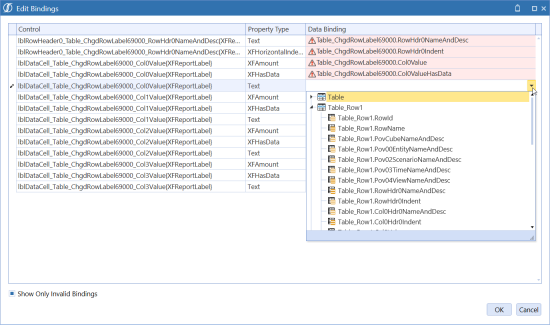
Select one of the invalid bindings from the Data Binding column and click the down arrow.
-
From the drop-down list select the correct data to a path that exists in your data set.
-
After you click off of that row, the color of the row changes to yellow to identify that it is modified.

NOTE: Even if you modify an invalid binding to make it valid, it still appears in the invalid list.
-
Click OK to close the Edit Bindings dialog box.
-
Click Save in the Report ribbon to save your changes to the report and database. Or, click Undo to revert the changes without saving.


