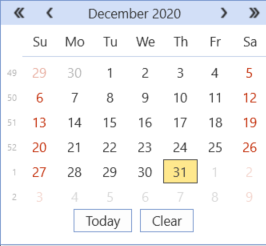
You can set a date in a dashboard by creating a Date Selector Component.
-
Go to Application > Presentation > Workspaces.
-
Select a Workspace and expand a Workspace Maintenance Unit.
-
Click Components.
-
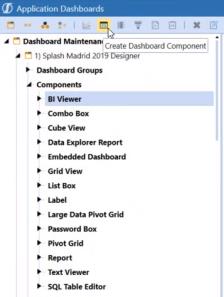
Click the Create Dashboard Component button.
-
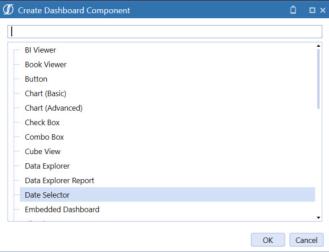
Select the Date Selector component and click the OK button.
-
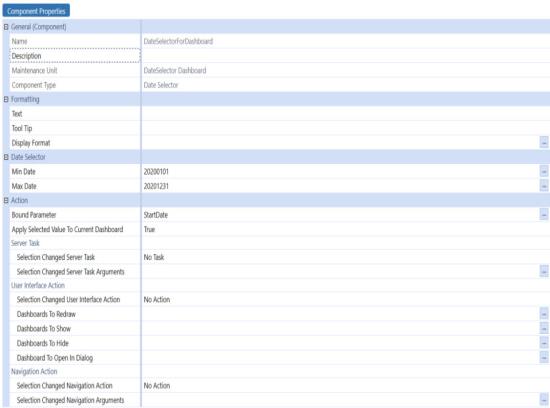
Enter the properties.
-
When you set Date Selector properties, you set a minimum and maximum date range that is viewed at run-time. Min and Max Date values should be entered in the following format: yyyyMMdd. This value is converted at run time based on your application culture setting. For example, if you set Min Date to 202002101 and the Max Date to 20201231, users can only select dates within that range.

NOTE: If no min date is specified, the min date is set to 1/1/1900. If no max date is specified, the max date is 12/31/9999.
If you click the ellipsis, you can choose an existing parameter, which will automatically fill in the |!...!|. You can also enter and use a Dashboard XFBR string.

For additional properties, see Component Formatting and Action Properties.
Add the Date Selector Component to a Dashboard
Once the Date Selector Component is created, you can add it to a dashboard.
-
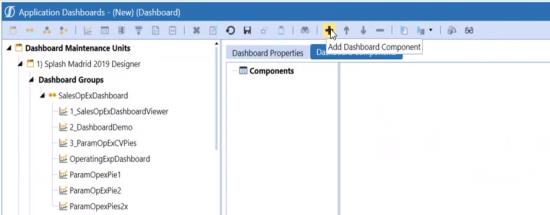
Select the dashboard and click the Add Dashboard Component button.
-
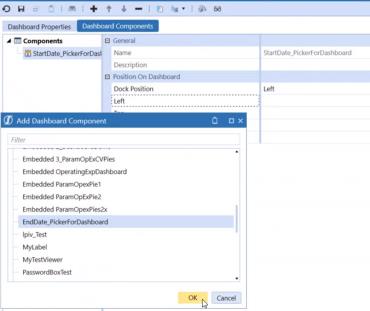
Select the date selector component and click theOK button.
-
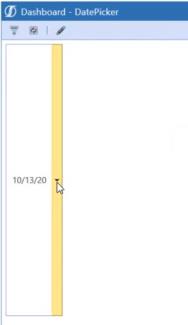
Click the Save button and then click the View Dashboard button.
-
Click the arrow to show the calendar.
Use the double arrows >> to show the max date and << to show the min date.
