A repository is a folder location on your local computer. Within that folder location, you will set up one or multiple projects to sync. In a typical setup, a repository represents the projects (business rules, Workspace assemblies, and XF Projects) that belong in a single solution. However, you can choose to use one repository for many solution projects.
To get started in Developer Studio, complete the following steps to create a repository:
-
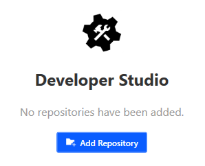
Select the Add Repository button or go to File > Add Repository.
-
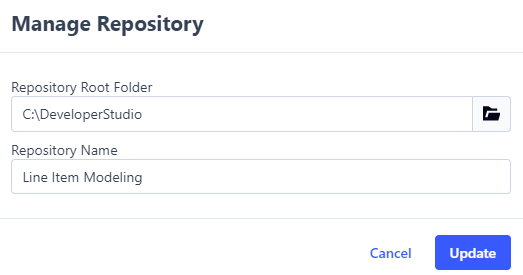
In the New Repository dialog box, select the Browse
 icon and use File Explorer to select a repository root folder.
TIP: It is recommended that you select an empty folder the first time running Developer Studio. To prevent slow loading times, avoid selecting your user profile folder or any other high-level directory.
-
Enter a name for the repository.
-
Select the Save button.
NOTE: If the repository folder selected contains osmap files or .xfproj files, those items automatically display in the Repository Items grid.

