-
Go to System > Administration > System Configuration.
-
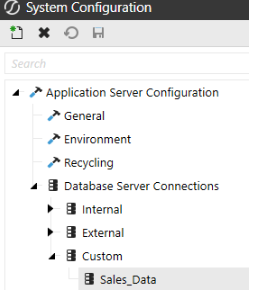
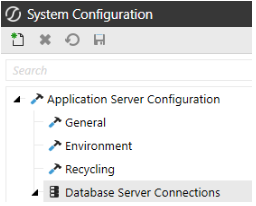
Select Application Server Configuration > Database Server Connections.
-
Select
 Create Item to create a new Custom database server connection.
NOTE: If the only fields displayed are Name and External Database properties, verify that the current user is assigned to the ManageSystemConfiguration role.
-
Enter the Name of the Database Server Connection.
-
For Database Provider Type, select Gateway.

-
The Gateway Name drop-down menu will be populated with a list of configured gateways. Select the Gateway.
-
After the Gateway is selected, the Data Source Name drop-down menu populates with a list of the Local Gateway Server Database Connections.
-
Select a Database Connection from the drop-down menu.
NOTE: If the remote data source is not displayed or the Gateway is offline, you can select Custom to allow the data source to be manually specified. It is advised to wait up to five minutes for the Gateway to populate first.
-
Click Save to complete the configuration.
-
Verify the custom database connection is under Custom.